|
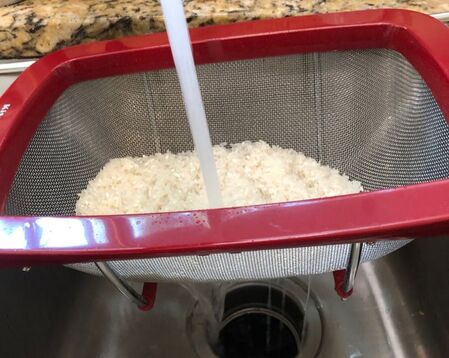
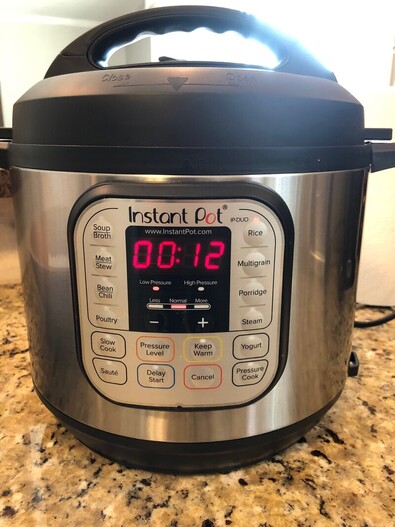
Sushi rice is critical to the overall success for creating various rolls. The process for homemade sushi starts with the rice due to its time requirement. You will have to wash, cook, mix in vinegar seasoning, and cool the rice before using it. These steps require ample time to complete. How Much Rice Do I Cook? Before cooking the rice, you need to estimate how much is needed per person. I recommend preparing 1 cup of uncooked rice per person. This will produce 2 cups of cooked sushi rice. I use one cup of cooked rice on a full sheet of nori (seaweed) paper. Each person would get two futomaki (full-sized) sushi rolls. If you wanted to make maki, small bite-sized rolls, use half of a nori sheet. I also recommend adding a little extra uncooked rice to your estimated amount. Whenever I make sushi rice, some always gets stuck to the bottom of a pot or spread too thick on a nori sheet. Preparing Rice for Cooking Before you can cook the rice, you will need to wash it. I recommend putting the rice in a pasta strainer or bowl that has holes small enough to not let rice through. While rinsing the rice, use your hand to gently move around the grains. This ensures that all of the grains are washed thoroughly. You should continue rinsing the rice until the water running through it turns clear. Once the rice is rinsed, move it to a bowl or into the stainless steel pot of an Instant Pot. Fill the bowl or pot with enough water to submerge the rice. Allow the rice to soak in the water for at least 30 minutes. Next, drain the water and then transfer the rice to a rice cooker or Instant Pot. I recommend avoiding the use of a stove top pot to ensure consistency. Ensure that your cooking device is large enough to cook the amount of rice intended. The rice will expand while cooking. You can prepare multiple batches if your rice cooker or Instant Pot is not large enough for the intended amount of cooked rice. Cooking the Rice Once the soaked rice has been transferred to a cooking device, add 1.2 to 1.5 cups of fresh water for each uncooked cup of rice. Your rice bag may have similar directions on it. Once enough water is added, hit the rice option on the rice cooker to start the cooking cycle. If you are using an Instant Pot, hit the rice setting with low pressure. The machine will run through a 12 minute cycle once the timer appears. When the cooking time is complete, allow the Instant Pot's pressure to naturally release for 10 minutes. Adding Seasoned Rice Vinegar
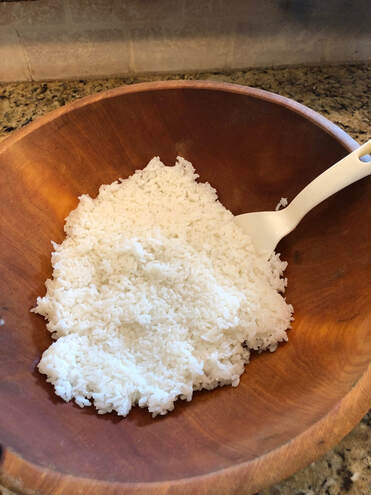
When the rice has finished cooking, transfer it preferably to a wooden bowl. If you do not have a wooden bowl, a glass one is an alternative. Measure out an appropriate amount of seasoned rice vinegar to add to the cooked rice. I recommend 1/2 tablespoon for each cup of cooked rice. If you made 10 cups of cooked rice, you would add 5 tablespoons of rice vinegar. This amount can vary depending individual preference. After measuring the amount of seasoned rice vinegar, you can begin adding it to the rice. Gently stir the rice with a wooden spoon as you slowly pour in the seasoned rice vinegar. Once all of the seasoned rice vinegar has been added, you will notice the rice has a sheen to it. This is completely normal. In addition, the rice will become very sticky after adding the seasoned rice vinegar. The Cooling Process The final step to making sushi rice is to let the cooked rice cool to room temperature. The time necessary to cool will vary with the volume of cooked rice. In my experience, this process will take 1-2 hours. You can use a fan on the rice to cool it down faster if time is limited. When the rice has finally cooled to room temperature, it is ready to use for making homemade sushi. To view the more blog posts in this multi-part series on making sushi at home, click the links below:
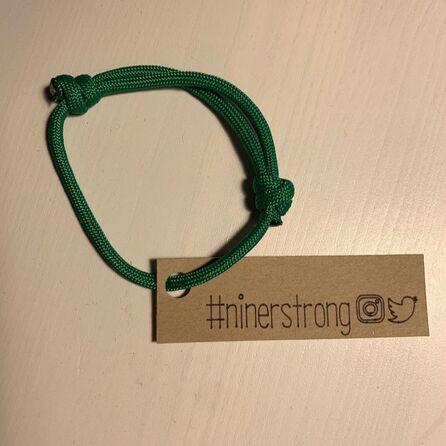
I am currently enrolled in an MBA class on entrepreneurship at the University of North Carolina at Charlotte. My group's class project is raising money for the Niner Nation Unites campaign. All donations go to supporting the victims and their families of the April 30, 2019 shooting on UNCC's campus. We are giving away handmade bracelets for any donation of $5 or more. If you would like to contribute a donation, you can send me a message details. I will mail bracelets to anyone in the continental United States who does not live in Charlotte, North Carolina.
|
Follow me
on Instagram @card_knock_life Categories
All
Archives
July 2024
This website contains affiliate links
|


 RSS Feed
